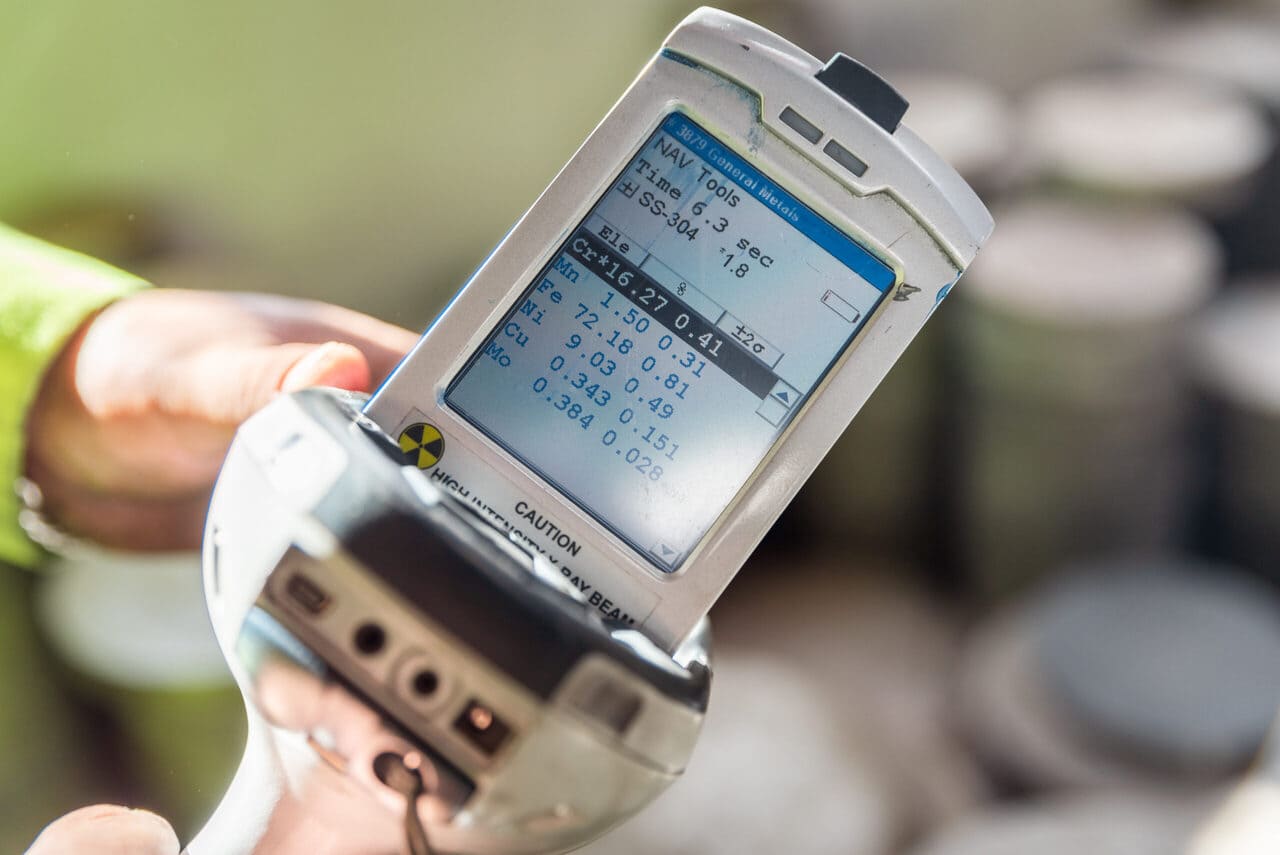
Material identification is one of the most often overlooked elements in manufacturing, industry, and construction. It is fairly common for purchasers to consider only the initial price of metal like steel or aluminum, and then be surprised when projects go over budget as workers struggle to complete components to required specifications. It was very common a decade ago for large scale infrastructure projects to purchase bulk quantities of very cheap steel, and then struggle to make acceptable welds due to the steel’s high boron content. A little boron can improve steel, too much and it has a tendency to settle at grain boundaries and encourage embrittlement. This budget steel is still causing trouble years, and it underlines why material testing is important.
One of the most convenient ways to accurately determine the contents of a metal and prevent these problems is x-ray fluorescence (XRF) analysis. A nondestructive testing technique that provides a breakdown of a metal’s contents. Since it is a nondestructive technique there may be some questions about XRF analyzer accuracy, and how dependable the results are. The good news is that the results are highly accurate as long as certain constraints are kept in mind.
What Is XRF Analysis?
In order to understand XRF analysis it is important to understand something about how material is made at the atomic level. Metals—and everything else—are made up of atoms that consist of a dense nucleus made of positively charged protons, and neutrons. Neutrons have no charge. This nucleus is surrounded by a loose cloud of negatively charged electrons with some orbiting closer to the nucleus, or farther up in higher orbits.
XRF uses x-rays to excite the atom. X-rays are high energy photons. They are so high energy that when they collide with an electron they knock it out of the orbit of an atom’s nucleus. The electrons that remain in orbit settle into lower orbits, and when they do they release a secondary x-ray photon separate from the first one. This secondary x-ray is the fluorescence, and it has a unique signature depending on the type of atom it was released from. By scanning these secondary x-rays, a process known as XRF spectrometry, it’s possible to determine the overall composition of a metal.
What Determines XRF Analyzer Accuracy?
When it comes to determining the composition of a metal and that it is suitable for use testing isn’t a simple yes or no answer. Standard mild steels which at the surface level are simple alloys of carbon and iron can have around trace—but detectable—amounts of ten or more additional elements. Some of which, like boron, can have dramatic effects on workability and long term performance of the metal. A useful scanner must not only detect the presence of an element, but provide an accurate summary of its amount. Anyone who has lived through the pandemic is probably aware of how difficult it can be to get an accurate yes or no answer out of even sophisticated tests.
Fortunately though, when it comes to XRF analyzer accuracy no report depends on a single analysis. Depending on the model of the XRF analyzer it will actually analyze the results anywhere from a few hundred times to a few thousand times. The report it produces will be a statistical average of all these different analytic cycles. Interpreting the produced report correctly—in other words being sure it doesn’t contain any egregious errors—requires some familiarity with the metrics the analyzer provides.
| Metric for XRF Analyzer | Purpose |
| Accuracy | How close the measurements reported by the analyzer are to the true value of the metal it is measuring. XRF analysis has a high degree of accuracy in analyzing most metallic elements and elements they are alloyed with, however, this does fall off with metals with lower atomic weights. But these ultralight weight metals are unlikely to occur even as alloying elements in structural metals. |
| Precision | How close sequential measurements are to each other. If measuring multiple times yields the same value, or values whose differences are so small to be irrelevant it indicates a high level of precision. Multiple tests that yield wildly different values indicate a low level of precision, and quite likely that the analyzer is out of calibration. |
| Confidence | This is a number that applies to the proportion of a metal’s contents that the analyzer reports. It is a plus or minus measure that affects the percentage reported. The smaller it is, the more accurate the result is. The larger the number provider the more room there is for the actual proportion of the metal’s contents to be above or below that amount. |
Interpreting all of these elements together is how an accurate analysis of a metal alloy can be derived. The different aluminum alloy types are differentiated by their primary alloying elements. Series 5 aluminum and series 6 aluminum are both primarily alloyed with magnesium. Series 6 aluminum also includes a notable percentage of silicon, and this is a primary differentiator between Series 5 aluminum which is meant for marine use and cast tooling plate, and structural series 6 aluminum like 6061 and 6063. It is important to use the correct aluminum for the intended purpose, and being aware of this silicon can be the difference between a precision machined part made of cast aluminum tooling plate, and one that is unacceptably warped.
|
Buy Certified High-Quality Metals for Industrial Solutions |
||
|
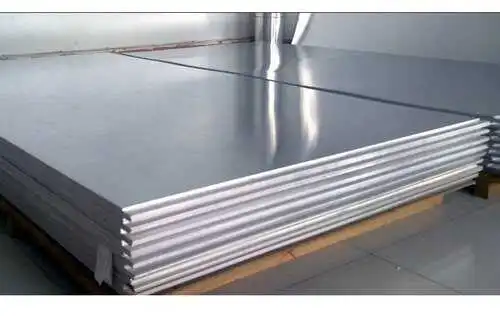
New Aluminum |
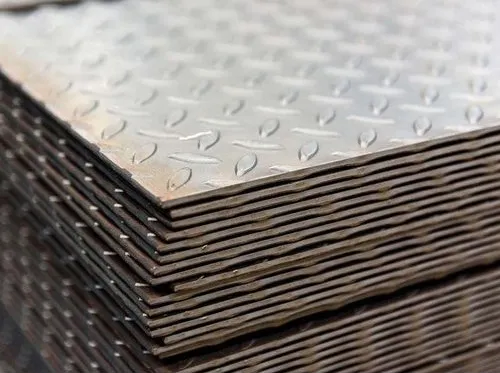
New Steel |
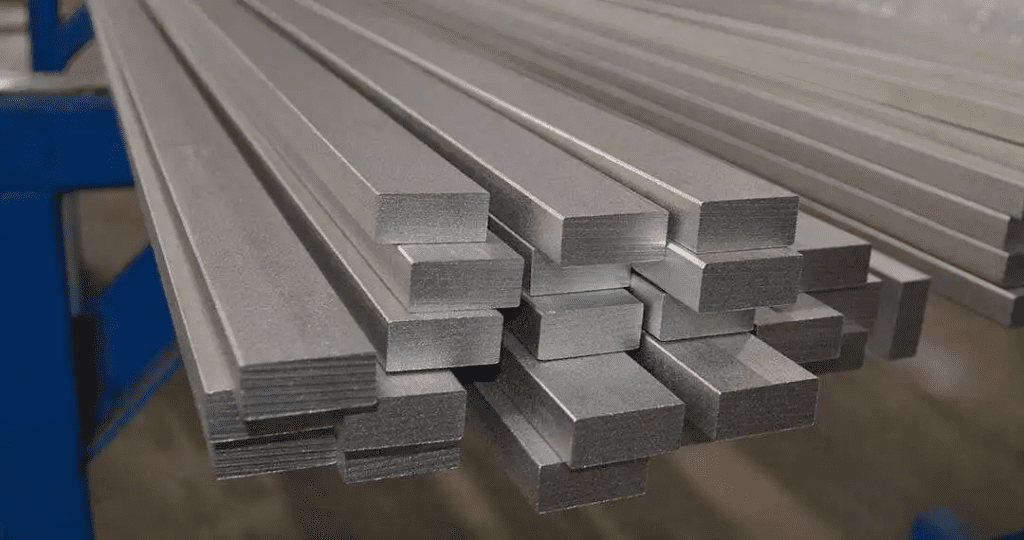
New Stainless Steel |
 |
 |
 |
| Reliable supply: Consistent, certified aluminum stock you can trust. High-quality material: Superior-grade aluminum for precision needs. Custom cuts: Accurate cuts down to thousandths of an inch. |
Durability and strength: Reliable for projects needing long-lasting, tough materials. Cost-effective: Quality steel that offers strength without breaking the bank. Custom cutting: Precise cuts tailored to exact needs with top-tier cutting tools. |
Sustainability: Highly eco-friendly as the most recyclable metal on earth. High durability: Resistant to corrosion and wear, ensuring long-lasting performance. Custom precision cuts: Tailored to your specifications with quick, accurate results. |
Verified Remnants Tested Accurately From a Supplier You Can Trust
Fortunately, XRF analyzers are very accurate, and can routinely deliver confidence factors within one thousandth of a percentage point. This accuracy rises with the atomic weight of an element, and elements like carbon with an atomic mass of 12 are in the class of heavier elements that XRF analyzer accuracy is routinely and reliably excellent. This makes XRF analyzers an excellent way to verify metal allows for metal that may not have mill certification available.
Industrial Metal Service has been a supplier for verified remnant aluminum, stainless steel, nickel superalloys that are fit for use in everything from hobby projects, prototyping, to full scale production of automotive components. Contact us to find out more about XRF analyzer accuracy and to buy metal you can trust in.
 Angle
Angle Cast Plate
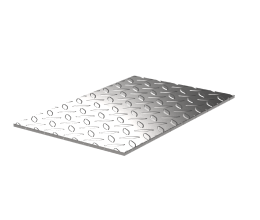 Diamond Plate
 Flat Bar
 Plate
Plate Round Bar
 Square Bar
 Square Tubing
 Round Tubing
 Angle
Angle Channel
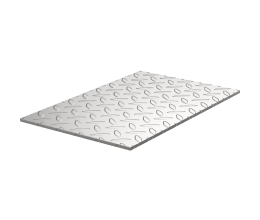 Diamond Plate
 I Beam
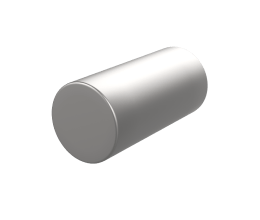 Round Bar
 Sheet
Sheet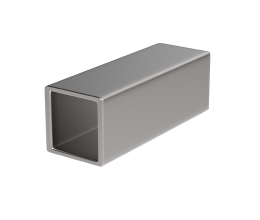 Square tubing
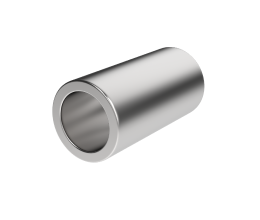 Round Tubing
 Rectangular Tubing
 Plate
Plate Rectangular Bar
 Rectangular Tubing
 Round Bar
 Sheet
Sheet Square Bar
 Square Tubing
