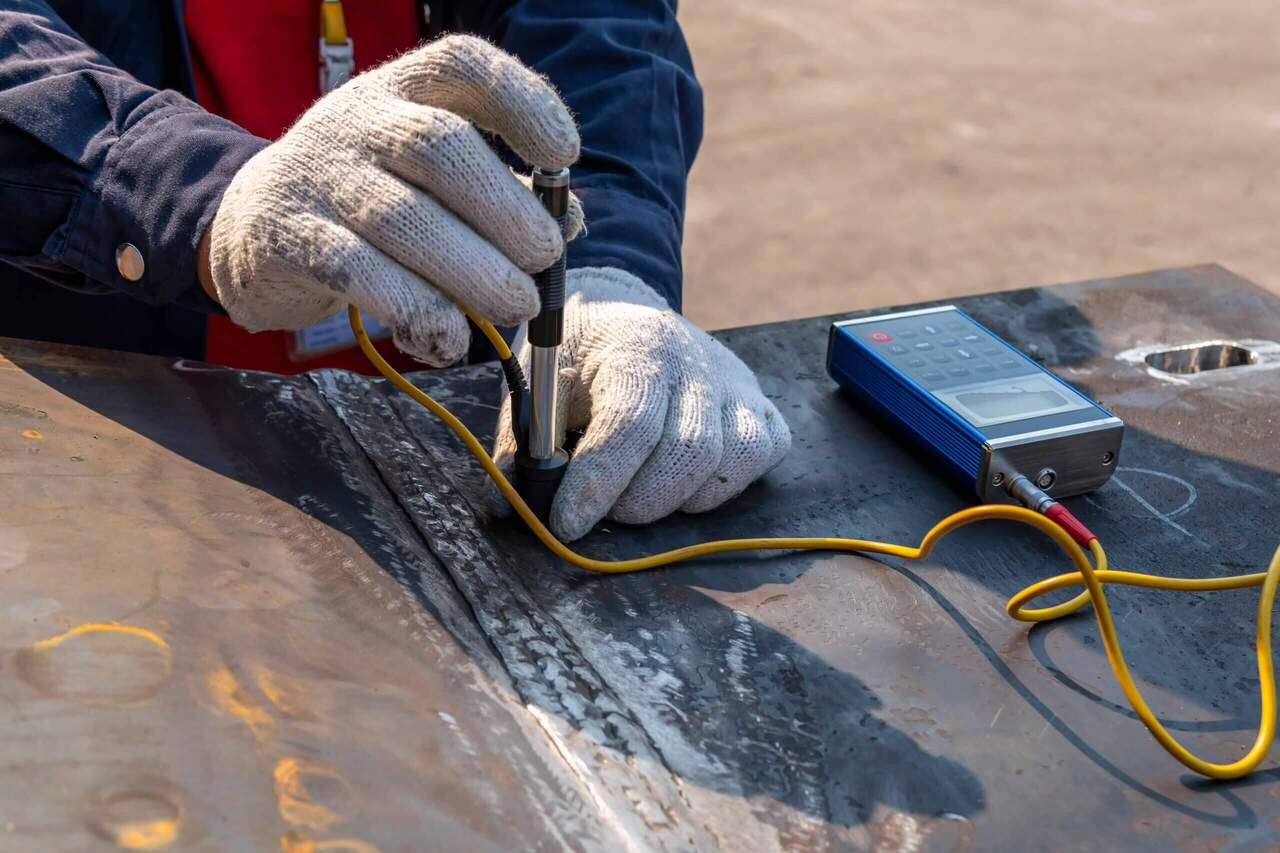
Determining a metal’s hardness is crucial, as cutting hard metal with a softer blade can be an expensive mistake. Material testing is vital for material and tool selection, particularly metal hardness. The choice of tool for a task can depend on the metal’s hardness. Knowing how to do hardness testing—more importantly, what the individual metal hardness testing method actually means—is important in choosing materials for a project and the tools that will cut and work that material, whether they are brittle materials or softer materials.
Additionally, understanding how heat treatment processes affect metal hardness is vital for achieving the desired properties in the final product.
The Different Types of Metal Hardness Testing
Hardness is a metal’s resistance to forceful alteration, but not all alterations are related to the hardness of metals. Bending a metal measures its tensile strength or ductility. Hardness is best measured by a material’s ability to resist direct penetration. Rigorous metal hardness testing involves using a probe to indent or penetrate the surface of a material, with standard tests using different probe shapes and formulas to derive a numeric value.
Various hardness testing methods exist, including the Brinell, Rockwell, and Vickers hardness tests. Each offers distinct advantages depending on the type of metal and the precision required. For instance, the method of Brinell hardness testing is often used for softer metals and provides a larger indentation that can be easier to measure. In contrast, the Rockwell hardness test method is faster and more suitable for harder materials.
Like most hardness tests, understanding how heat treatment processes can alter the hardness of different materials is also crucial in selecting the appropriate testing method and ensuring accurate results.
Here, we take a look at the most commonly used metal hardness testing methods.
| The Most Commonly Used Metal Hardness Tests | |||
| Metal Hardness Test | Use Case | Formula | Results |
| Rockwell Hardness Test | The Rockwell test method is widely used due to its simplicity and speed. It employs a cone-shaped or spherical indenter. An initial minor load is applied to break through surface oxidation, followed by a major load. The difference in penetration depths between the hardness testing loads determines the Rockwell hardness value. | HR=N- hd
|
The hardness testing results are expressed using different scales that express the Rockwell hardness value based on the major load used during the test. The B (100 kilogram-force) and C (150 kilogram-force) scales are the most common. |
| Brinell Hardness Test | The Brinell hardness testing method is commonly used to test large or coarse-grained materials like nonferrous metals, castings, and forgings. This hardness testing involves applying a known load to a spherical indenter, typically made of hardened steel, although a tungsten carbide ball may be used for harder materials. The diameter of the resulting indentation is measured, and the hardness value is determined. | 2P/πD (D – √(D²-d²)
|
When a Brinell Hardness Number is quoted, the conditions of the hardness test must also be expressed, including whether a steel (S) or tungsten (W) ball was used, its diameter, and the force used during the Brinell hardness testing method. |
| Vickers Hardness Test | The Vickers hardness testing utilizes a pyramid-shaped diamond indenter to create a square-shaped indentation on the metal surface. The diagonal lengths of the indentation are measured, and the Vickers hardness value is calculated. | HV = (1.854 × F) / (d2)
|
This testing method is suitable for various solid materials, including metals. It is known for its accuracy and precision and is widely used in research and quality control applications. |
| Knoop Hardness Test | The Knoop hardness testing measures the hardness of small and delicate materials, thin sections, and coatings. These test methods employ a rhombic-based diamond probe. The elongated shape allows for a precise diamond-shaped indentation on small, narrow surfaces. | HK = (1.854 × F) / (I2)
|
The advantages of micro hardness testing are that it can be used on very small materials and requires a tiny sample for testing. The disadvantage is that it can be a difficult test. It can be affected by environmental factors like temperature. Controlling for these factors makes setup and completion time-consuming. |
|
Buy Certified High-Quality Metals for Industrial Solutions |
||
|
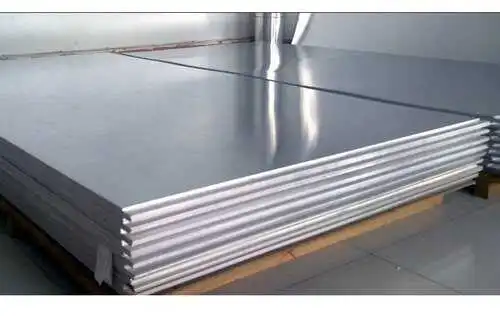
New Aluminum |
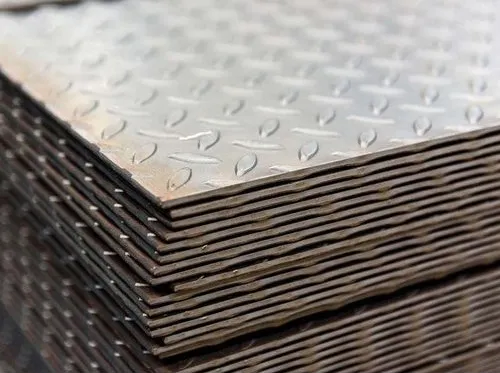
New Steel |
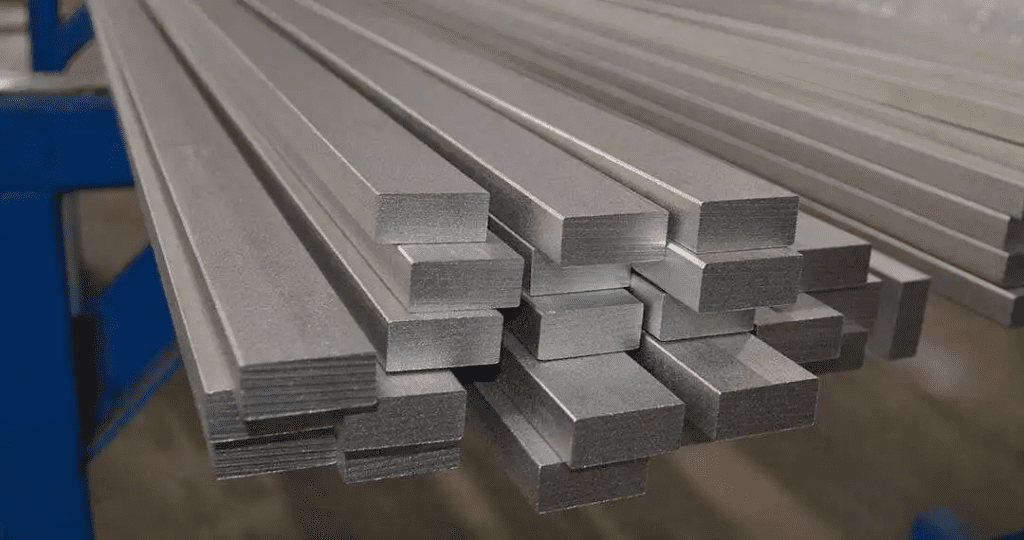
New Stainless Steel |
 |
 |
 |
| Reliable supply: Consistent, certified aluminum stock you can trust. High-quality material: Superior-grade aluminum for precision needs. Custom cuts: Accurate cuts down to thousandths of an inch. |
Durability and strength: Reliable for projects needing long-lasting, tough materials. Cost-effective: Quality steel that offers strength without breaking the bank. Custom cutting: Precise cuts tailored to exact needs with top-tier cutting tools. |
Sustainability: Highly eco-friendly as the most recyclable metal on earth. High durability: Resistant to corrosion and wear, ensuring long-lasting performance. Custom precision cuts: Tailored to your specifications with quick, accurate results. |
For fabrication or machine shops, rigorous scientific hardness tests may not always be feasible. Instead, they can determine the hardness of metals using standardized charts or rely on trusted suppliers to provide the correct metal for the project. These resources help ensure they select the appropriate metallic materials without conducting detailed hardness testing. Quality control remains paramount, as even minor hardness deviations can impact the final product’s performance and durability.
By understanding the differences between softer and harder materials, fabrication and machine shops can make informed decisions. Softer metals might be more malleable and easier to work with but may not provide the necessary strength for certain applications. Conversely, harder metals, while more challenging to machine, offer greater wear resistance and prevent permanent deformation, making them ideal for high-stress environments.
In conclusion, thorough knowledge of metal hardness tests is indispensable for selecting the right materials and tools and ensuring that the final products meet the required quality and performance standards. Industrial Metal Services is here to help you with your needs, providing expert guidance and reliable materials for all your projects.
 Angle
Angle Cast Plate
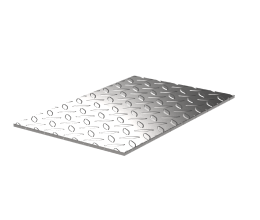 Diamond Plate
 Flat Bar
 Plate
Plate Round Bar
 Square Bar
 Square Tubing
 Round Tubing
 Angle
Angle Channel
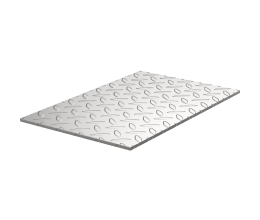 Diamond Plate
 I Beam
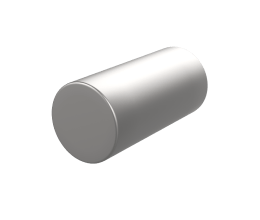 Round Bar
 Sheet
Sheet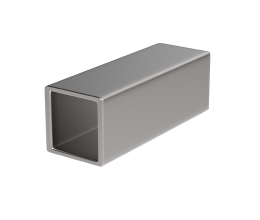 Square tubing
 Round Tubing
 Rectangular Tubing
 Plate
Plate Rectangular Bar
 Rectangular Tubing
 Round Bar
 Sheet
Sheet Square Bar
 Square Tubing
